


I recently hosted a number of Mommy & Me Photography classes and had so much fun teaching tips and tricks to a group of moms who wanted to learn how to take quality photos of their kids. When setting up these classes, I stressed that no fancy equipment was necessary. The only prerequisite was an interest to learn and eagerness to apply the new skills instantly with hands-on guidance by me. Throughout the class I reinforced the process composing a great image by thinking of background, position and light. At the end of one particular class I was asked “What do I do when there is nothing around and the sun is really bright?” My first thought was the beach. With summer quickly approaching I wanted to provide my top 3 beach photography tips that will improve your images instantly.
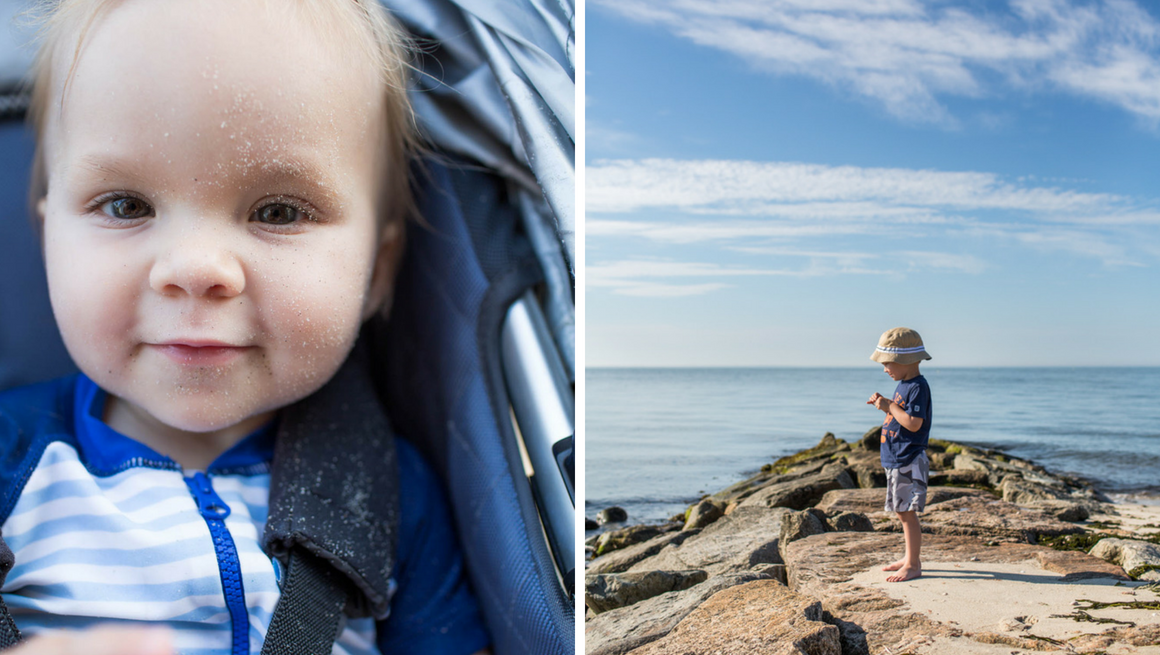
A beach provides a variety of frame worthy photo opportunities, however it is not short in photography challenges. Depending on the time and location a beach can be crowded, which causes cluttered backgrounds and not so flattering beach goers. As you see in the images below my background is clutter free and celebrates the sand, surf and sky.
Tip #1: Get Low
When working with clients or even my own child you will find me constantly moving into various positions to capture the right angle. Being in a squat or even laying down provides a unique perspective. On a crowded beach you could also use this “low” position to your advantage by minimizing the amount of “clutter” in the background. In the image of the child throwing the rocks I actually used a waterproof go-pro camera, which is a fun creative tool to use at the beach. You can even allow your kids to participate in taking images and capture memories from their perspective.
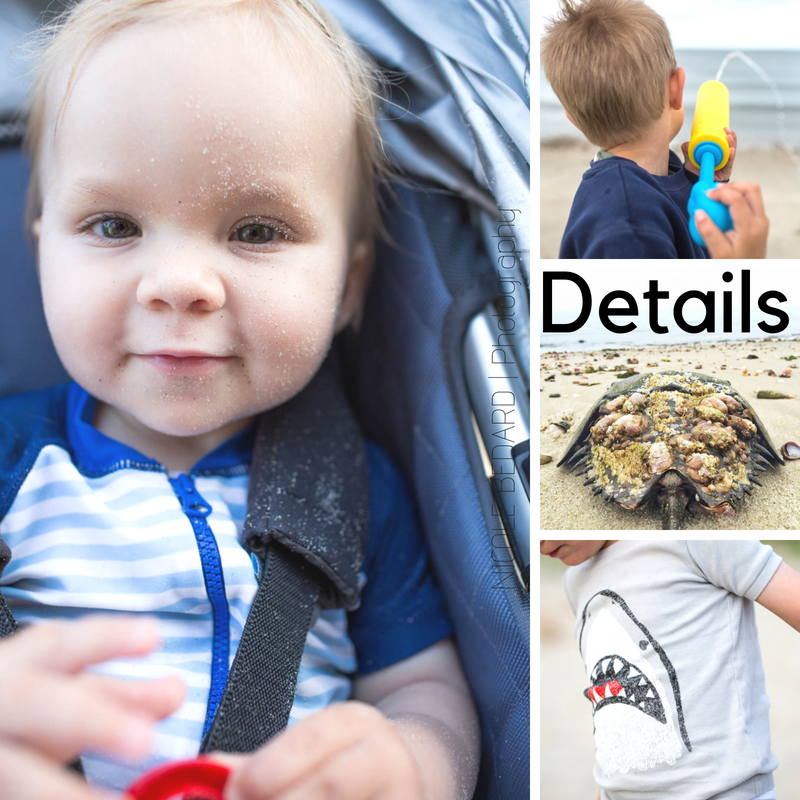
Tip #2: Details
Detail images really enhance the story of a beach vacation or day trip. Those little things that might only happen at the certain time in life, for example, baby toes in the water, sand on a toddler’s face, a special toy car that is brought everywhere they go. A detail that when you look back marks a certain time and fond memory.
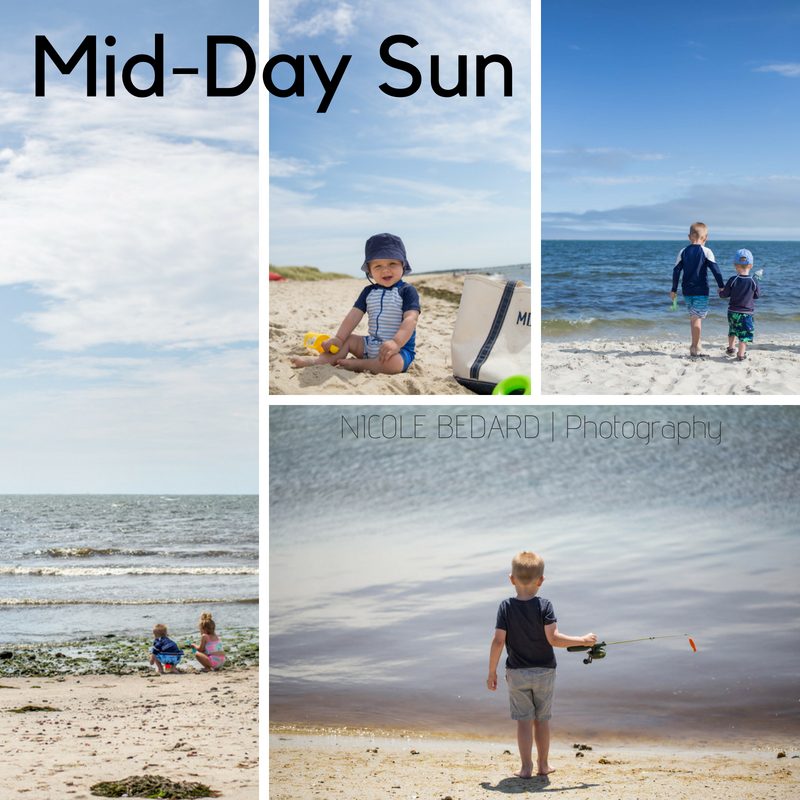
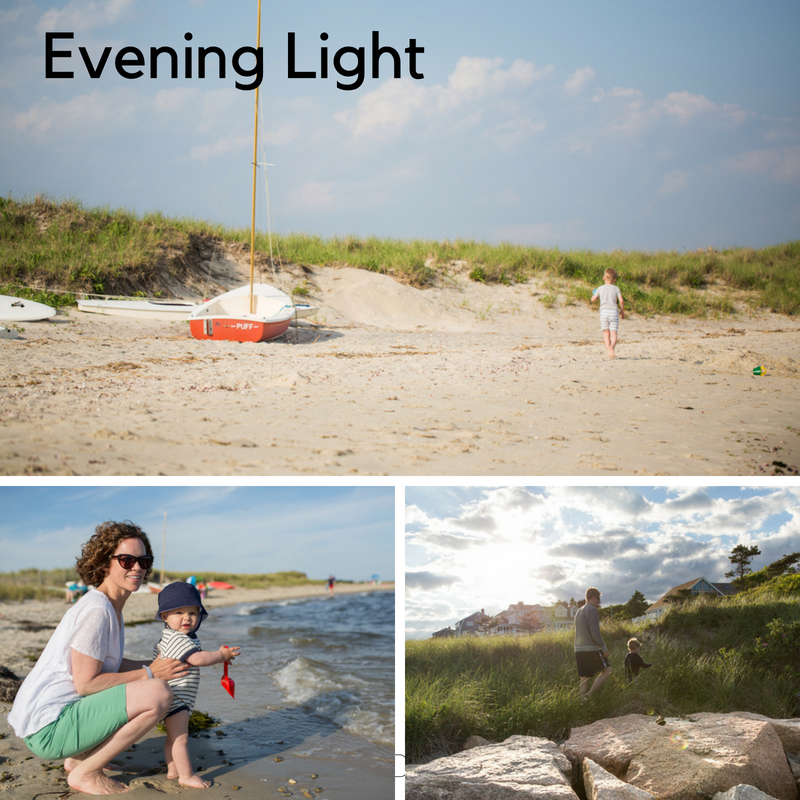
Tip #3: Light (morning, mid-day and evening)
Light is one of the most important elements of photography. As a professional photographer I am constantly looking for the best light when working on-location with a client. Capturing the light correctly will transform a good image to great. You might not have the opportunity to be on the beach at the ideal morning or evening light, but you can still take great images during the mid-day sun.
- Utilize a sun umbrella, sun tent or even a hat to soften the light on a child’s face and prevent them from squinting and/or having a harsh shadow on their face.
- Move around your subject to test where the best light is falling, start with the sun at your back.
- Always take more than one image, as soon as you stop that is when a child will crack a smile or make a cute face.
If you are in the Connecticut area and are interested in learning about future classes, sign up for the Nicole Bedard Workshops list


[…] you dive into our list though, be sure to check out this blog post from our sponsor, Nicole Bedard Photography for some easy tips on taking better pictures of your […]